 Jump to Recipe
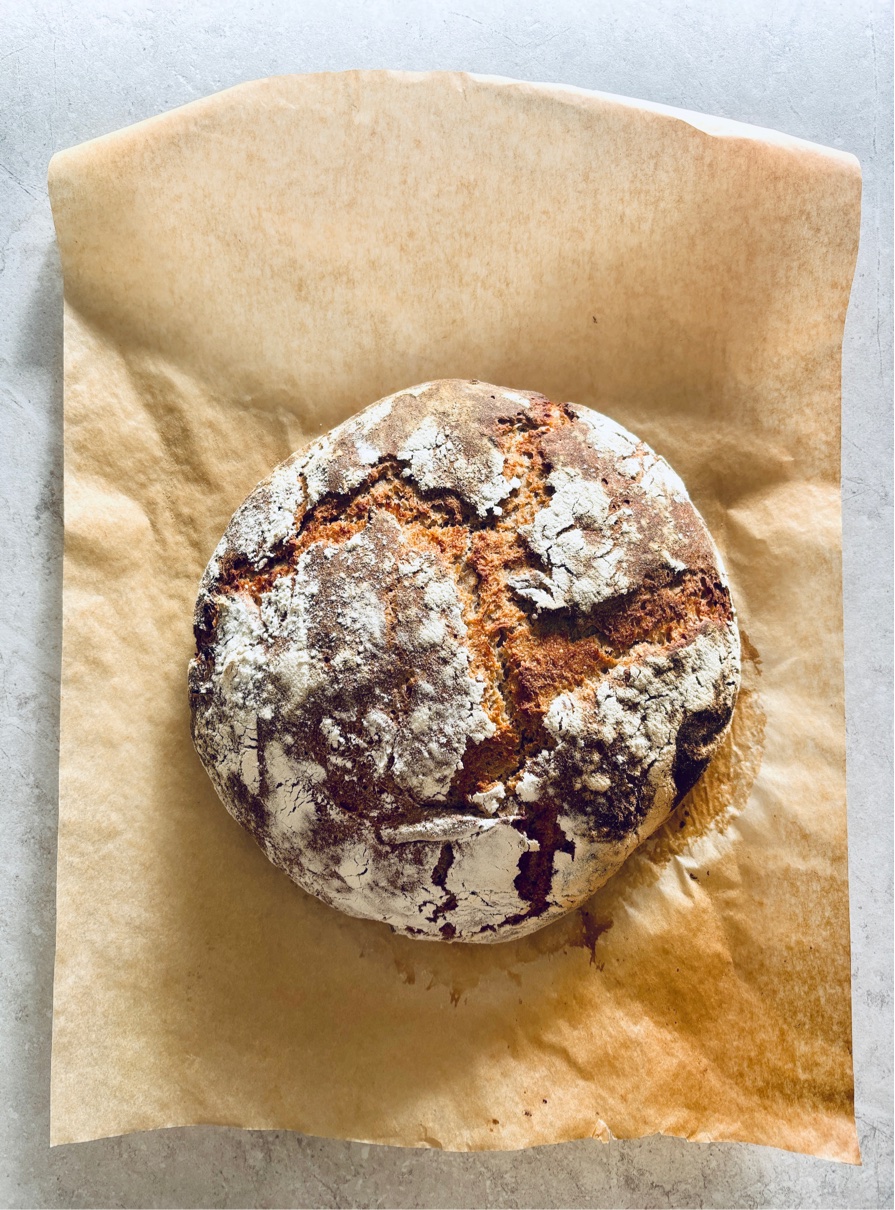
Today, I’m sharing my tried and tested recipe for a really easy sourdough bread that is totally uncomplicated to make and tastes amazing! It’s a super healthy whole wheat bread that’s great for gut health!
Is bread healthy?
Bread has a bad reputation these days, and I can’t blame anyone. The bread that is eaten by the majority of people is the processed kind. The kind that has been stripped away from all of its nutrients and fiber and where all kinds of unpronounceable ingredients have been added to. Think of artificial preservatives and bread enhancers. A lot of these breads contain a considerable amount of sugar, which have no place in a good bread in the first place and often too much salt, which can lead to high blood pressure.
But fortunately, bread can certainly have a place in a healthy diet. Not all bread is bad. After seeing an interesting documentary about centenarians in the blue zones, I was motivated to give sourdough bread making a try. The documentary showed the villagers in Sardinia, Italy, who had sourdough bread as a staple in their mediteranean diet. I was intrigued by the fact that the bread seemed to play a big part in the villagers secret to longevity.
Health benefits of sourdough bread according to studies
According to studies sourdough bread has a lower glycemic index which reduces blood sugar spikes, has nutrients that can be absorbed more easily by the body because of the fermentation process, has a lot of antioxidants which reduce the risk of certain diseases and are beneficial to immune health. It’s considered a prebiotic, because it feeds the good bacteria in our gut, so it supports gut health. It’s furthermore easier to digest than commercially made white bread.
Sourdough bread making : Too complicated?
Because of the above reasons, I knew I wanted to be able to make my own sourdough bread, but somehow the process seemed so daunting. There are a lot of steps involved in making the sourdough starter alone and a lot of recipes to prepare the sourdough bread seem very complicated. I made regular yeast breads quite often, with success, but sourdough was another story. I once tried to make a starter, but that unfortunately didn’t work out so I had to throw it away and I hadn’t tried to do it over ever since.
How I succeeded in making an active sourdough starter
I’m glad to tell you that it worked out this time. I’ve watched a video on YouTube that explained everything in a clear and simple way. It shows you how to make a starter with the addition of a surprising ingredient: grapes! Grapes are actually traditionally used as an additional ingredient to make sourdough starter. It can speed up the process because the grapes contain natural wild yeasts on their skin. So if you’re having trouble with making a regular starter recipe, it can be worthwhile to try making it with the grape method.
I’m super exited that I’ve finally succeeded in making my own easy sourdough bread loaves. Now I can finally say that making sourdough starter and bread is actually the most easy way of making bread ! I mean, people without modern equipment and the scientific knowledge that we have today, have done it for centuries. It’s really the most traditional way of making bread!
Be patient when making a sourdough starter
You need a lot of patience to make the starter. Mine took a lot longer to make than the video stated. I almost threw the entire batch out because I didn’t saw any activity happening. Because I thought I had failed once again, I left the dough alone and it dried out completely. But a tiny bit of hope in me was left, so I took the dried out dough and fed it again and miraculously it started to bubble and I finally was left with a thriving , living sourdough starter, which I now use twice a week. Maintaining it is a breeze and not complicated at all!
So be patient when making the recipe for a starter. It can take a while to become active, especially when you’re making the dough during the winter, because of the colder temperatures inside the house. But once you do succeed, you’ll have a sourdough starter that can be potentially used hundreds and hundreds of years, if maintained properly of course.
My recipe for easy sourdough bread
If you succeeded in making your own starter, the possibilities in sourdough bread making are endless. But I like to keep things as simple as possible. This recipe for easy sourdough bread is uncomplicated and simple. You don’t need to knead the dough for so long, there are no tedious steps involved in the process and there’s no kneading and folding at all.
This basic recipe for an easy sourdough bread works out every time, takes 10 minutes to prepare and is suitable for all kinds of variations in the kinds of flours that you want to use, or different toppings. It can be made on busier days and even when you’re short on time or energy.
How does this easy sourdough bread taste?
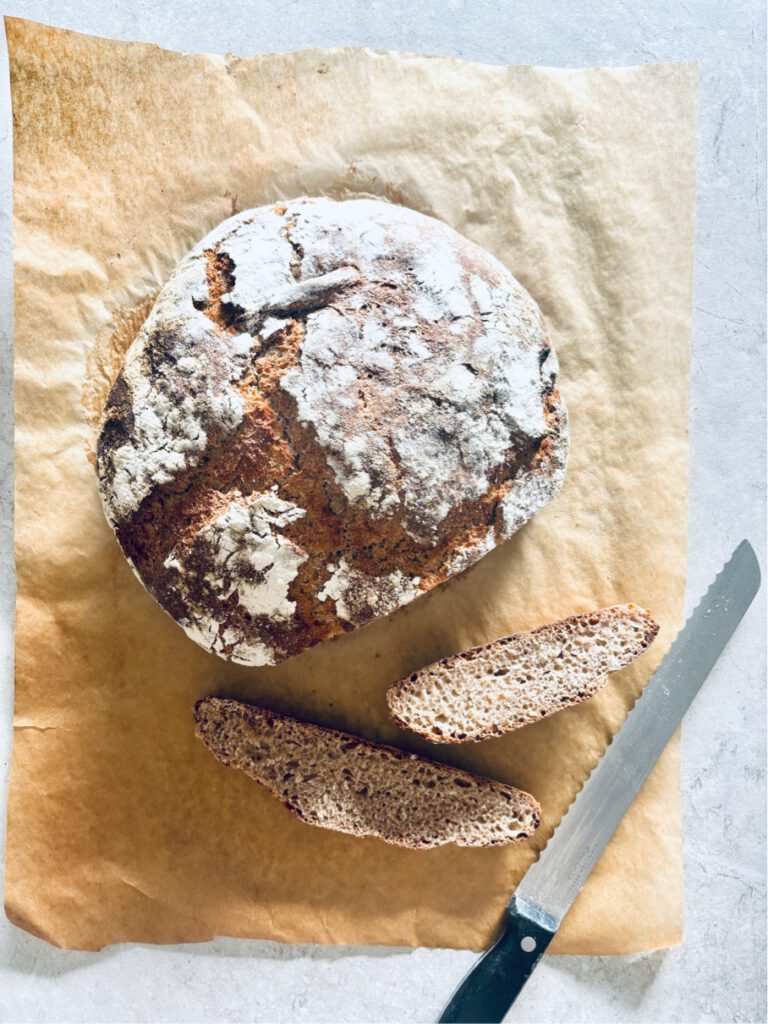
The flavor of sourdough bread really stands out in comparison to regular yeast breads. The flavor is much more developed because of the long fermentation process and the crispy crust is really devine.
A lot of people have the assumption that a sourdough bread tastes sour because of the name. While that can be true, the bread doesn’t have to taste sour. The longer you leave the dough to ferment, the more sour the bread will taste. However, if you don’t like the sour taste, let the dough ferment for a shorter period, and you’ll be fine. This recipe for easy sourdough bread does not really have a sour taste, if you follow the instructions.
How to make this easy sourdough bread recipe
To make this recipe, you need to have an active sourdough starter culture. Feed it before you want to make bread with it, so it becomes bubbly and active.
In the evening, add 50 grams of starter to luke warm water and stir. Mix in the flour and the salt and knead it with your hands or with a mixer until it becomes a playable dough. Add some extra flour if it remains too sticky. Leave the dough to rise overnight in a bowl, lined with a tea towel.
Take the dough out the next morning and knead it for a few seconds to get rid of the air bubbles. Shape the dough and let it rise again in the bowl for just a few hours. You can also let it slowly ferment in your fridge and bake it in the evening, when you return from work or other duties. Bake for about 30 minutes until the bread has a golden brown crust.
How long will this easy sourdough bread last?
What I like about sourdough bread is that it stays fresh for longer without the use of any preservatives. If you’re familiar with making your own bread, than you know homemade bread can become stale pretty quick after just one day. But this is not the case with sourdough bread. The acid in the starter culture is actually a natural preservative, preventing it from getting stale or molding too quick.
Recipe tips + tricks:
Try using different flour combinations
This is a basic recipe and you can be creative with it by using different flour combo’s if you like. You could make a loaf with rye flour, whole wheat flour , corn flour etcetera. Though I wouldn’t recommend using a 100 % wholewheat flour, because the end result could become too dense. I don’t recommend using gluten free types of flours either.
If you want a 100 % whole wheat loaf, then I suggest the following. Use half wholewheat flour and half sifted wholewheat flour. Just sift the wholewheat flour to remove a part of the bran
Add different mix-ins and toppings to your dough
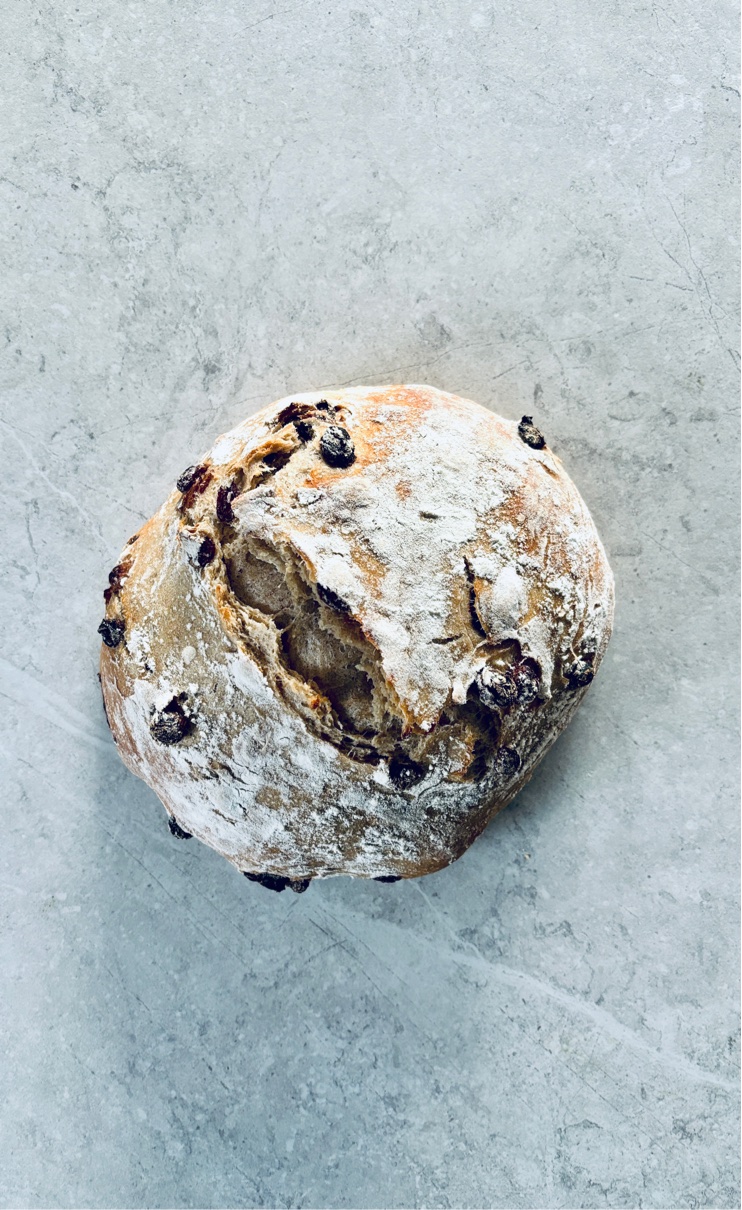
You can also add toppings or mix-ins if you’d like. Add soaked and drained raisins for example. Or chopped nuts or seeds. Nuts and seeds need to be soaked and drained before adding to the dough, or they’ll soak up too much moisture from the dough, which could dry out your bread.
Scoring the bread
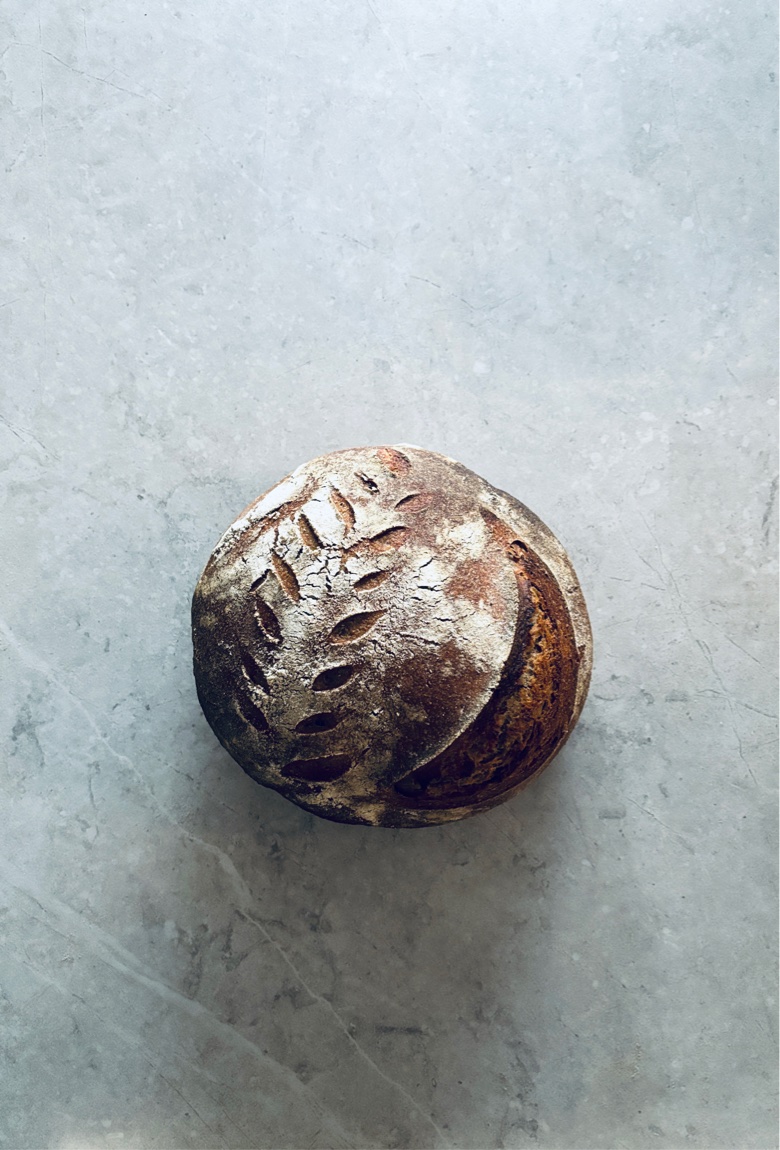
Scoring the bread looks really pretty, but it can be a challenge if you’re not yet that experienced with it. Here’s a video that shows you how to do it. You need a “lame” or really sharp razor blade of knife to do it. After watching the video, you will score the bread like a pro! If you don’t want to score it, then that’s fine too. It’s just an aesthetics thing.
Leave the bread to ferment in the fridge the next morning
If you don’t have the time to let the dough rise for a couple of hours in the morning and bake it right away, simply let the dough rise in the fridge for the entire day. It will slow down the fermentation process slightly so you can bake the bread the evening when you come home from work, for example. The bread is also easier to score, when it had a colder temperature.
How to get a crispy crust
Put a small bowl with water in the oven and sprinkle the hot and preheated oven with some water to create steam. This will ensure that your bread will have a crispy and delicious crust. Leave this step out if you don’t like a crispy crust, but prefer a softer one.
Make a larger batch
This recipe is so easy to make, you won’t even need to buy bread in the store anymore. But when you’re really short on time, here’s a great tip: make a double batch of dough to make two breads at once. Wrap one loaf in a bag and keep in the freezer, so it stays fresh. The other one can stay on the counter and will keep fresh for about 3 days.
Share your thought and suggestions
I hope you’ll enjoy this recipe as much as I did. If you have any questions or thought and suggestions, please share them with me in the comments.
Easy peasy sourdough bread
Course: RecipesDifficulty: Easy14
servings20
minutes30
minutes1 loaf
This sourdough bread is a super easy, basic recipe that is foolproof! No long kneading, folding or complicated methods, just 10 minutes of your time.
Ingredients
250 grams rye flour or whole-wheat flour ( or white whole wheat flour)
250 grams white whole wheat flour or all purpose flour
50 grams active, fed and bubbly sourdough starter
300 grams lukewarm water
10 grams sea salt
Directions
- Feed your starter before you want to make this bread and start making the bread the night before you want to eat it. Use a kitchenaid mixer with dough hook to prepare the dough or knead the dough by hand.
- Add the water to a bowl or bowl of the mixer and add the sourdough starter. Mix well and then add the flour and sea salt.
- Knead the dough by hand for about 5-10 minutes until the dough is smooth and elastic or let the mixer knead the dough for 5 minutes until the dough is smooth. If the dough is still too wet, add extra all purpose flour until the dough is no longer sticky.
- Dust the bowl with some flour. Shape the dough into a ball and let it rise overnight covered with a damp tea towel. Leave it to rise in a medium warm spot.
- The next morning, the dough should have risen somewhat. Take the dough out of the bowl, knead for a few seconds to inflate the dough again.
- Line a round bowl with a tea towel and dust well with flour. Make a round ball out of the dough with the seam underneath. Lay the dough in the bowl with the seam side underneath. Cover with a damp tea towel and let it rise in a warm place again for 1,5-2 hours until risen. Or: Let it rise in the fridge for 5-8 hours or longer.
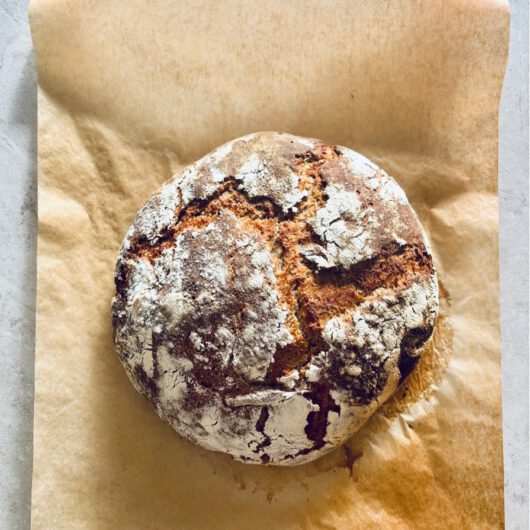
- Preheat the oven to 250 c. Lay the dough seam side up on a baking tray with parchment paper. Dust with some extra flour. You could score the douch at this stage. Put a small oven proof bowl filled with water into the oven and sprinkle some water onto the hot oven floor to create steam.
- Bake the bread for 30-35 minutes or more until the bread is golden brown and sounds hollow when you tap on it. Open the door of the oven 10 minutes before the bread is done to release moisture from the oven and to get a crispy crust. Close it again and let the bread bake until done.
- Leave to cool and enjoy!
Leave a Reply